How To Build A Barndominium: Step-By-Step Guide (2026)
· By DTF Metal Buildings · Metal Buildings
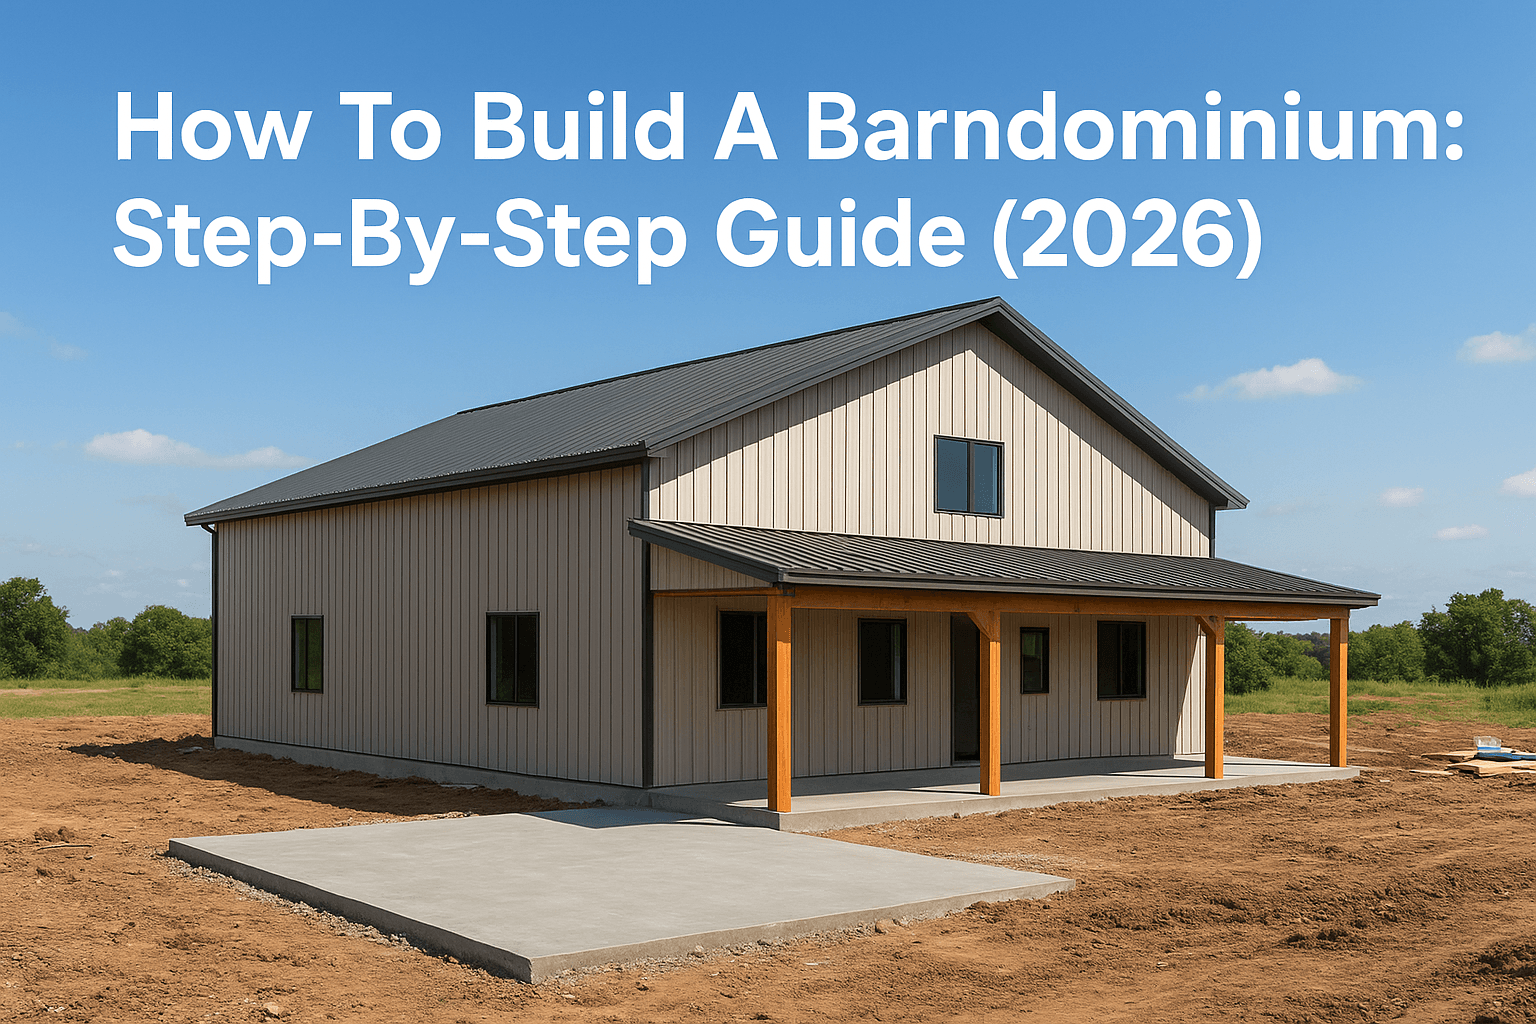
Barndominiums have become one of the most popular building choices for Texas property owners who want durability, customization, and value. If you've been researching how to build a barndominium, you've probably noticed there's a lot of conflicting information out there, and not much of it comes from people who actually construct these buildings for a living.
At Droptine Metal Buildings, we've spent over 15 years building custom metal structures across South Texas, including barndominiums for families and landowners who need a home that can handle the climate and lifestyle demands of this region. This guide pulls from that hands-on experience to walk you through every phase of the process.
You'll learn how to secure the right land, choose between building kits and custom construction, work with contractors, and navigate the specific challenges that come with barndominium projects. Whether you're planning a weekend retreat on your ranch or a full-time residence, this step-by-step breakdown covers budgeting, permits, floor plans, and the construction timeline you can realistically expect. By the end, you'll have a clear roadmap for turning your barndominium idea into a finished structure.
What a barndominium is and who it fits
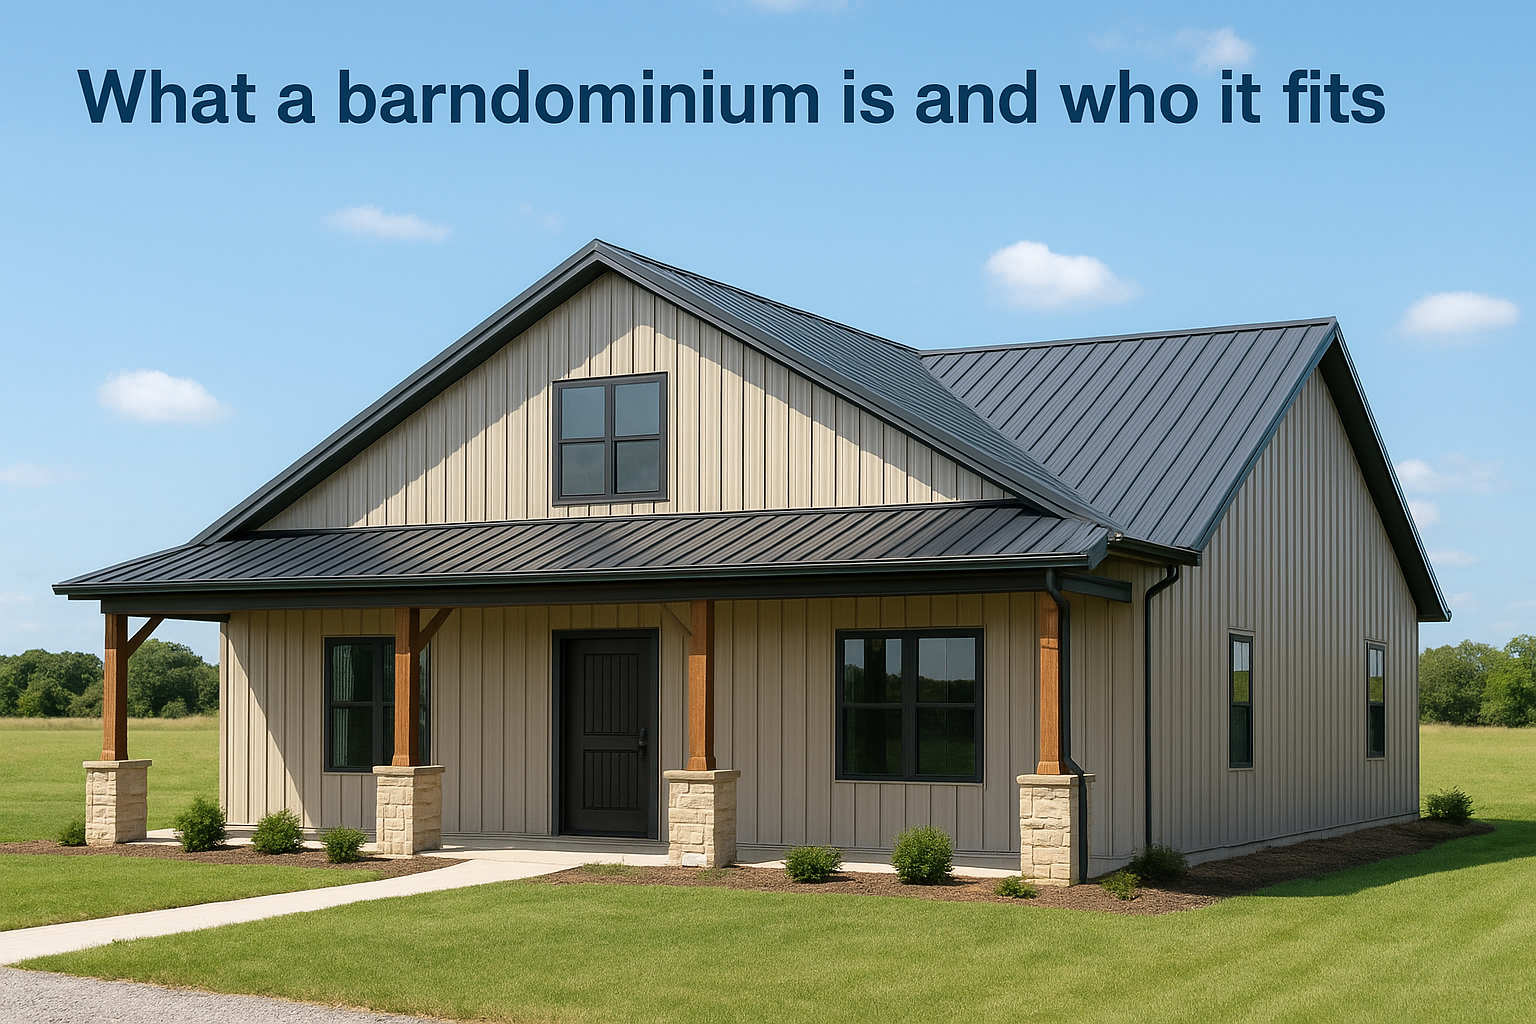
A barndominium combines metal building construction with residential living space in a single structure. You get a steel frame and metal exterior that houses a fully finished home interior, often with large open floor plans and high ceilings. The name comes from merging "barn" and "condominium," though most modern barndominiums look nothing like traditional barns and function as primary residences or weekend getaways.
The basic structure and design concept
The shell of a barndominium uses post-frame or rigid-frame construction, which means vertical steel columns support a metal roof and siding system. Inside that weatherproof envelope, you build out walls, plumbing, electrical, and finishes just like any conventional home. Most designs feature open-concept layouts that take advantage of the wide, clear spans a metal frame allows without needing load-bearing interior walls every few feet.
You can customize the exterior to look more residential by adding stone or brick veneer, covered porches, and standard residential windows. The interior finish options range from basic sheetrock and laminate to high-end tile, hardwood, and custom cabinetry. The core difference from a traditional stick-built house is the exterior structure and framing method, not the livability or comfort level you can achieve inside.
Ideal owners and use cases
Barndominiums work best for landowners who need both living space and work areas under one roof. If you run equipment, store tools, or need a workshop alongside your home, a barndominium lets you section off part of the building for those uses without constructing separate structures. Ranch owners in South Texas frequently choose this setup because they can park tractors and vehicles in one bay while living comfortably in the finished portion.
Retirees and weekend property owners also find value in barndominiums because the low-maintenance metal exterior holds up against weather without the constant upkeep of wood siding or stucco. You won't repaint every few years or replace rotted trim boards. Families who want a custom home on a tighter budget often pick barndominiums too, since the construction timeline runs shorter and the cost per square foot typically falls below traditional residential builds in the current market.
Building a barndominium gives you flexibility to expand your finished living area over time while using unfinished bays for storage or hobbies until you're ready to convert them.
Cost and time advantages over traditional homes
Construction costs for barndominiums generally run $120 to $200 per square foot for a fully finished build in South Texas, compared to $180 to $300+ per square foot for comparable stick-built homes. The steel frame goes up faster than traditional framing, and you skip some of the weather delays that slow down wood construction. Most barndominium projects from foundation to move-in take six to nine months, while custom homes often stretch past a year.
Your insurance and utility costs may differ from standard homes depending on your insulation choices and design efficiency. Metal roofs last 40+ years without replacement, and modern spray foam insulation keeps heating and cooling costs competitive with traditional construction. The durability of the structure means you face fewer repair costs over the building's lifetime, though you should budget for occasional resealing of fasteners and panel seams every 10 to 15 years to prevent rust in coastal or high-humidity areas.
Understanding how to build a barndominium starts with recognizing these structural and financial differences from conventional residential construction. You're not just building a house; you're creating a steel structure that functions as a home, and that distinction affects everything from your contractor selection to your financing approach in the steps ahead.
Step 1. Set your budget and financing plan
Your budget determines every decision you'll make about how to build a barndominium, from the size and finishes to whether you hire a general contractor or manage subcontractors yourself. Start by calculating your total available funds, including cash reserves, home equity, and approved financing, then work backward to figure out what size and finish level fits within that number. Most lenders require 20% down for barndominium construction loans, so if you have $60,000 available for a down payment, you're looking at a $300,000 total project budget.
Break down construction cost categories
You need to account for five major expense buckets before you pour the first footer. Land costs come first if you don't already own property, followed by site preparation that includes clearing, grading, and utility connections. The shell construction covers your foundation, metal frame, roof, and exterior walls. Interior finishing includes insulation, drywall, flooring, cabinetry, appliances, and trim work. Finally, you'll pay for permits, engineering stamps, and contractor labor that don't show up as physical materials but still eat 15% to 25% of your total budget.
Here's a realistic breakdown for a 2,000 square foot barndominium in South Texas:
| Category | Cost Range | Notes |
|---|---|---|
| Land (if purchasing) | $30,000 - $80,000 | Depends on acreage and location |
| Site prep & utilities | $15,000 - $35,000 | Well, septic, electric connection |
| Foundation | $12,000 - $18,000 | Slab-on-grade standard |
| Shell & weatherproofing | $60,000 - $90,000 | Frame, roof, siding, doors, windows |
| Interior finish | $80,000 - $140,000 | Varies wildly by material choices |
| Permits & engineering | $5,000 - $12,000 | County-dependent fees |
Building without a detailed line-item budget leads to cost overruns that stop construction halfway through when you run out of money.
Compare financing options for metal buildings
Traditional mortgages don't work for barndominium construction because lenders classify metal buildings differently from stick-built homes until they're fully finished and appraised. You'll need a construction-to-permanent loan that converts to a standard mortgage after completion, or you can use a personal construction loan if you have strong credit and substantial income documentation. Some builders in South Texas report clients using farm credit loans when the property qualifies as agricultural land.
Expect higher interest rates on construction loans compared to conventional mortgages, typically 1% to 2% above standard rates. You'll also pay interest only during the construction phase on the amounts drawn, which means your monthly payments start low and increase as more money gets disbursed to contractors. Cash buyers skip these costs entirely but tie up capital for six to nine months that could earn returns elsewhere.
Step 2. Choose land and confirm build rules
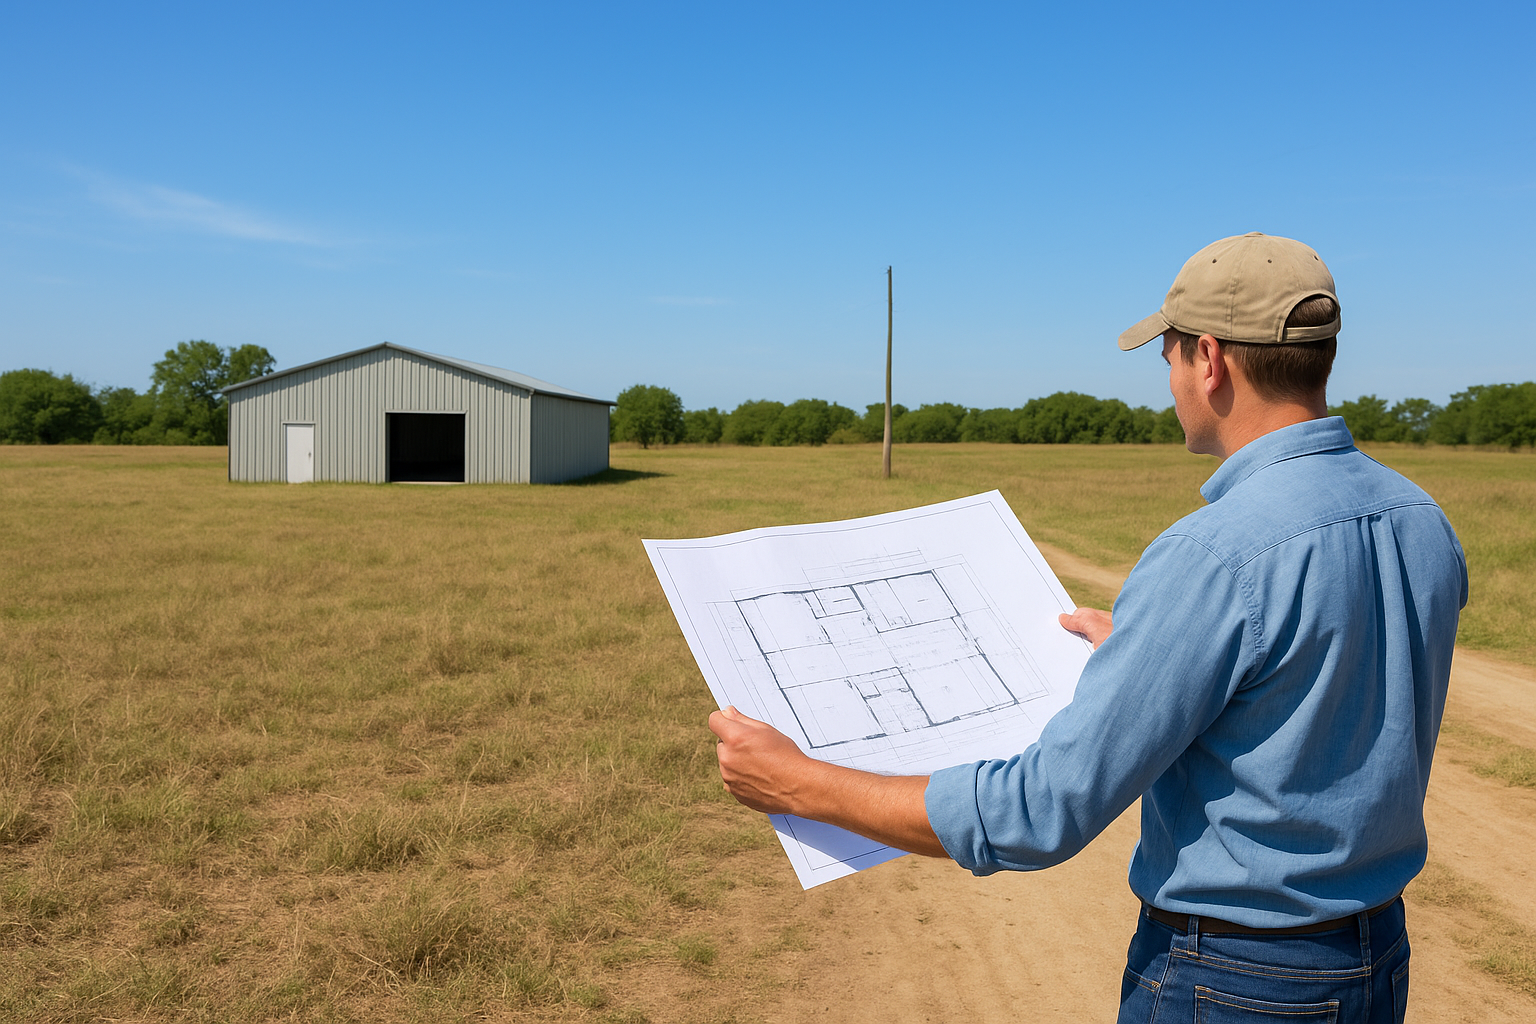
Land selection sets the foundation for everything that follows when you figure out how to build a barndominium. You need property that meets minimum size requirements, allows residential metal structures, and gives you access to utilities or viable alternatives. Most South Texas counties require at least one acre for a residential septic system, though some allow smaller lots if you connect to municipal sewer. Drive the property boundaries before you buy to confirm access roads can handle concrete trucks and material deliveries during construction.
Verify zoning allows metal residential buildings
Call your county planning department and ask specifically if barndominiums qualify as residential structures in your chosen zone. Some jurisdictions classify them as agricultural buildings that need a variance for full-time occupancy, while others treat them like standard homes once you meet finish requirements. Request a copy of the residential building codes and minimum standards for your area, which typically include setback distances from property lines, maximum building height, and required parking spaces.
You'll also need to confirm whether your property falls under a homeowners association or deed restrictions that prohibit metal exterior buildings. Rural properties rarely face HOA rules, but subdivided land near town limits often carries restrictions that prevent anything except traditional residential construction. Get this information in writing before you close on the property, because discovering a metal building ban after purchase leaves you stuck with land you can't use for your project.
Confirming build rules before you buy land prevents wasted money on property you legally cannot develop as a barndominium.
Check utility access and connection costs
Contact the local electric utility, water district, and internet providers to map out service availability at your property line. Electric companies typically provide free line extensions up to a certain distance (often 300 to 500 feet), then charge $15 to $30 per foot beyond that point. If your building site sits 1,000 feet from the nearest power pole, you're looking at $7,500 to $15,000 just for electrical service before you turn on a single light.
Properties without municipal water need a well permit and drilling costs that run $8,000 to $15,000 for a typical residential well in South Texas. Septic systems add another $8,000 to $12,000 for design, permitting, and installation. Calculate these numbers into your land decision, because a cheaper five-acre tract with no utilities often costs more overall than slightly pricier land with water and electric already stubbed to the property line.
Step 3. Design the layout and building specs
Your floor plan determines construction costs, material quantities, and long-term functionality more than any other decision in the barndominium process. Start by listing every room and space you need, then assign approximate square footage to each area based on how you'll actually use the building. A 2,000 square foot barndominium might include 1,400 square feet of finished living space with three bedrooms and two bathrooms, plus 600 square feet of unfinished shop or storage area that you can convert later.
Plan your square footage and room divisions
Draw your layout on graph paper or use free floor plan software to visualize how rooms connect and where you'll place doorways. Barndominium designs work best with open concepts that minimize interior load-bearing walls, which lets you take advantage of the wide clear spans a metal frame provides. Place your kitchen, dining, and living areas in one continuous space, then add bedrooms and bathrooms along the perimeter walls where you need privacy and plumbing runs.
Consider traffic flow between your garage or shop area and your living quarters. Most owners want direct access from the shop to the house without going outside, so plan an interior door with a small mudroom or laundry space as a buffer. This transition zone keeps dirt and dust from tracking into your finished living areas while you move between spaces throughout the day.
Planning your layout around existing utilities and septic system location reduces plumbing costs by shortening pipe runs from bathrooms and kitchen to your drain field.
Select exterior dimensions and bay configuration
Metal building manufacturers produce frames in standard width increments of 10, 12, 20, 24, 30, and 40 feet, and you'll save money by choosing dimensions that match these pre-engineered sizes. A 40x60 foot building (2,400 square feet) costs less per square foot than a 38x62 building because the manufacturer doesn't need to custom-fabricate every component. Length matters less than width since adding another 10-foot bay to the length uses the same frame components.
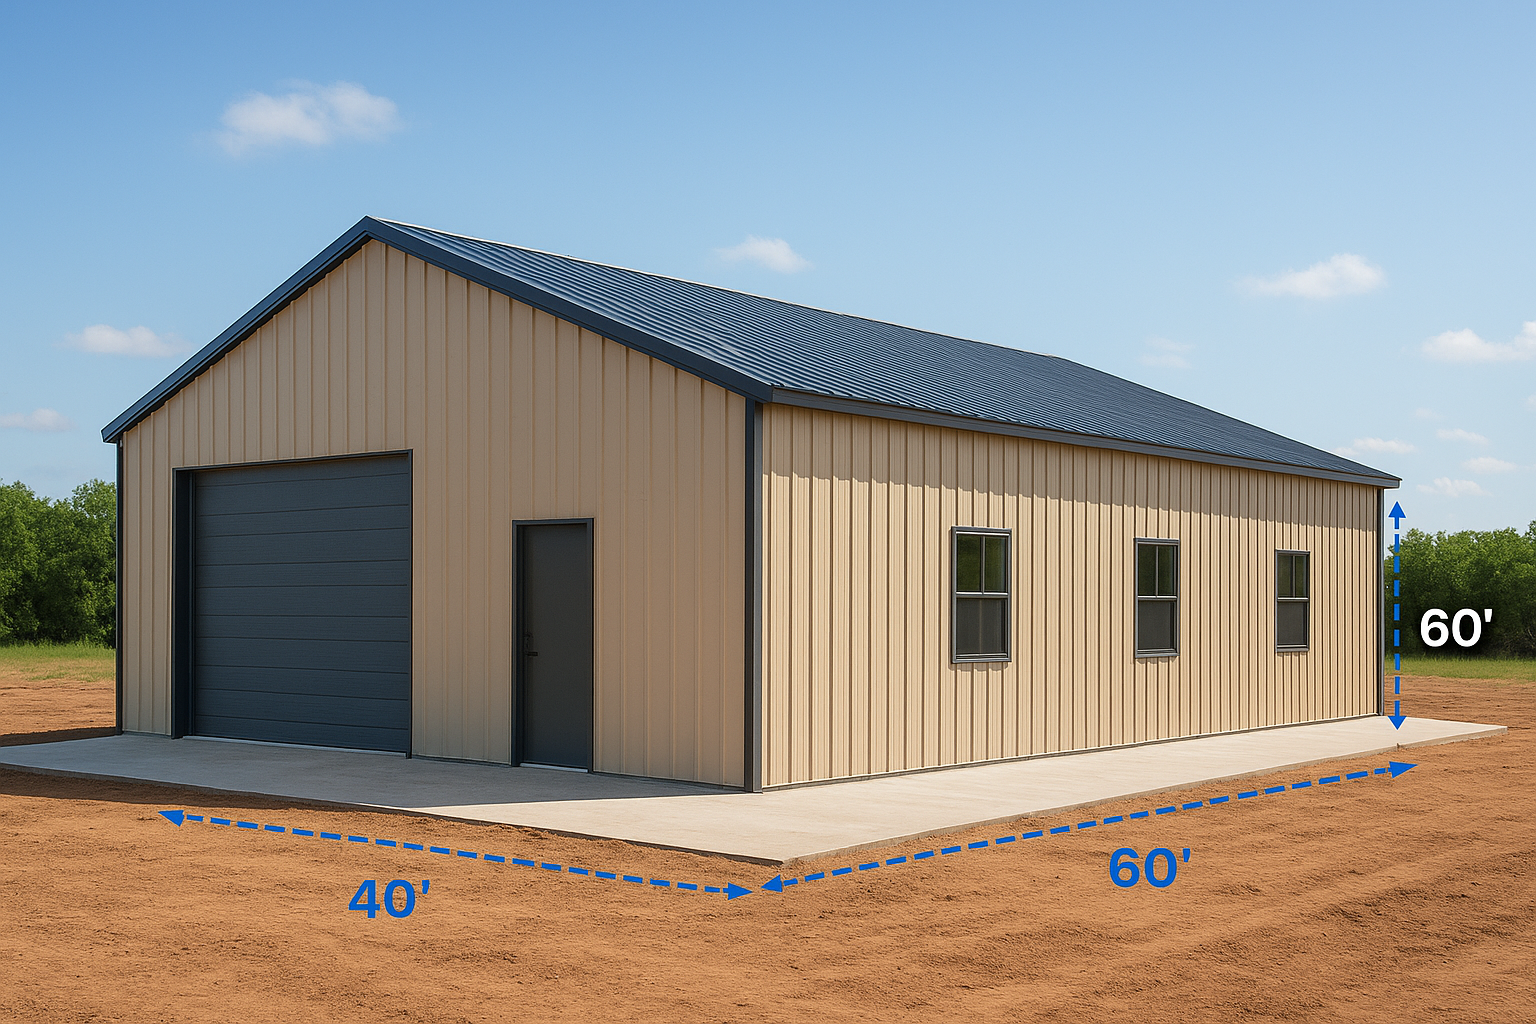
Your bay spacing affects both structural cost and interior flexibility when you figure out how to build a barndominium. Standard 10-foot bay spacing works fine for residential areas, but workshop sections benefit from 12 or 20-foot spacing to accommodate vehicles and equipment without interior columns blocking your floor space.
Choose roof style and interior ceiling height
Pick between a traditional gable roof or a single-slope design based on your aesthetic preference and budget. Gable roofs cost 15% to 20% more than single-slope but provide better attic ventilation and a more residential appearance. Most barndominium builders in South Texas use a 4:12 or 5:12 roof pitch that sheds water quickly during heavy rains while keeping material costs reasonable.
Standard 12-foot sidewall height gives you 10-foot finished ceilings after accounting for insulation and drywall, creating an open feel that distinguishes barndominiums from standard homes. Increasing to 14-foot sidewalls adds $4 to $6 per square foot to your shell cost but delivers dramatic interior volume that makes smaller floor plans feel more spacious.
Step 4. Pick your build method and team
Your build method determines who manages the project, how long construction takes, and where potential problems might emerge during the process. You have three main paths when you learn how to build a barndominium: purchase a complete building kit and hire contractors to assemble it, work with a general contractor who handles everything, or act as your own general contractor by hiring individual trade specialists. Each approach changes your time commitment, stress level, and final cost by thousands of dollars.
Choose between kit, contractor, or owner-builder approaches
Barndominium kits from manufacturers include your metal frame, roofing, siding, windows, doors, and all fasteners delivered to your site for $40 to $70 per square foot. The kit company provides engineered drawings stamped for your location, but you still need to hire contractors for foundation work, shell erection, and all interior finishing. This option works best if you have reliable local contractors who've assembled metal buildings before and can work from the manufacturer's assembly manual.
Hiring a licensed general contractor costs 15% to 25% more than self-managing but transfers responsibility for scheduling, permits, inspections, and warranty issues to one company. The contractor coordinates all subcontractors, orders materials in the correct sequence, and handles problem-solving when deliveries arrive damaged or inspections fail. Look for contractors with at least three completed barndominium projects you can visit, not just traditional homebuilders who claim they can figure out metal construction.
Owner-builder projects save you the general contractor markup but demand 20 to 30 hours per week managing schedules, deliveries, and trade coordination for six to nine months. You'll need to understand construction sequencing well enough to schedule your concrete crew, framer, electrician, plumber, and HVAC contractor in the right order without delays that cost you interest on your construction loan.
Working as your own general contractor on your first barndominium project often creates more stress and delays than the money you save justifies.
Hire licensed specialists for critical trades
Never compromise on licensing and insurance for foundation contractors, electricians, and plumbers regardless of which build method you choose. Foundation problems cost $15,000 to $40,000 to repair after the fact, and unlicensed electrical or plumbing work fails inspections that delay your entire project. Request copies of current liability insurance certificates and verify contractor licenses through your state licensing board before signing contracts.
Metal building erection requires specialized crews with steel construction experience, not standard residential framers. Ask potential erection contractors how many metal buildings they've assembled in the past 12 months and request photos of completed projects similar to your design. The crew that frames wood houses efficiently often struggles with metal panel installation and creates leaks you'll discover during the first heavy rain.
Step 5. Permits, engineering, and site prep
Permits and proper site preparation prevent construction delays that cost you thousands in extended loan interest and contractor standby time. Your county building department requires stamped engineering drawings and approved permits before you can pour concrete or erect your metal frame, and these approvals typically take three to six weeks from submission. Start this process as soon as you finalize your floor plan, because waiting until you're ready to build adds unnecessary delays when you learn how to build a barndominium on a realistic timeline.
Submit permit applications and engineering plans
Contact your county building department to request the specific permit application forms and required documentation for residential metal buildings. You'll need engineered plans that show your foundation design, structural frame calculations, electrical layout, and plumbing schematic. Most building kit manufacturers include basic engineering stamps with your purchase, but you may need a local engineer to modify plans based on your county's wind load, snow load, or seismic requirements.
Your permit package should include:
- Site plan showing building location, setbacks, and septic system placement
- Foundation drawings with rebar specifications and concrete strength ratings
- Structural calculations for your metal frame and roof system
- Electrical single-line diagram showing panel size and circuit layout
- Plumbing isometric showing fixture locations and drain routes
- Energy compliance forms demonstrating insulation R-values meet code
Submitting incomplete permit applications delays your approval by weeks because most counties only review applications once every seven to ten business days.
Budget $3,000 to $8,000 for engineering fees if your building kit doesn't include complete stamped plans for your location. Counties charge permit fees based on your project valuation, typically $1,200 to $4,000 for a residential barndominium in the $200,000 to $400,000 range.
Clear and grade the building site
Schedule land clearing and rough grading after you receive permit approval but before you order your concrete. Your site contractor needs to remove trees, brush, and topsoil from your building footprint plus an additional 10 feet on all sides for equipment access and drainage. Stockpile the topsoil separately if you plan to use it for landscaping after construction completes, because replacing imported topsoil costs $30 to $50 per cubic yard.
Rough grading establishes proper drainage slope away from your building and creates a level pad for your foundation crew. The site should slope at least 1 inch per 10 feet for the first 20 feet around your building perimeter to prevent water from pooling against your foundation. Confirm final grade elevations with a survey before your concrete contractor arrives, because correcting improper grades after foundation work requires expensive excavation and fill.
Install temporary utilities and access roads
Arrange for temporary electric service installation before your foundation crew arrives so they have power for concrete saws, mixers, and site lighting. The electric utility typically charges $300 to $800 for a temporary pole with a 200-amp panel that serves your construction needs. Position this pole where it will convert to permanent service later, avoiding the cost of a second service installation.
Grade and compact your access road to handle loaded concrete trucks that weigh 60,000 to 80,000 pounds when full. Soft or muddy access routes cause delivery delays and extra charges when trucks cannot reach your site. Spread six inches of base rock on the road surface if you're building during South Texas rainy season to prevent trucks from getting stuck halfway to your building pad.
Step 6. Foundation, shell, and weatherproofing
Foundation work and shell construction form the critical phase where your barndominium transforms from plans into a physical structure. This stage typically takes four to six weeks and requires careful coordination between your concrete contractor, metal building erector, and inspection schedule. You'll see the fastest visible progress during these weeks as your foundation slab gets poured and your metal frame rises in a matter of days, but rushing through weatherproofing details creates leak problems that haunt you for years.
Pour the concrete foundation
Schedule your foundation pour for a day with temperatures between 50°F and 85°F and no rain in the 48-hour forecast. Your concrete crew will install rebar or wire mesh reinforcement according to your engineered plans, set anchor bolts at the exact column spacing your metal frame requires, and pour a minimum 4-inch thick slab with 3,000 PSI concrete. The anchor bolt placement matters more than anything else during this phase, because bolts set even two inches off-spec force your erection crew to drill new holes or modify your frame.
Most South Texas barndominium foundations use monolithic slab-on-grade construction that combines your floor slab with thickened perimeter footings in a single pour. This design costs less than pier-and-beam or basement foundations while providing adequate support for metal building loads. Your concrete needs to cure for at least seven days before erection begins, though 14 days delivers better strength for anchor bolt connections.
Incorrect anchor bolt spacing during foundation work delays your entire project by weeks while you wait for engineering solutions and steel modifications.
Erect the metal frame and roof
Your erection crew will bolt the primary columns to the foundation anchors, then lift horizontal beams into place and connect them with high-strength bolts. The entire frame typically goes up in two to five days depending on building size and crew experience. Watch for proper column plumbness and beam levelness during installation, because correcting a leaning frame after panel installation requires disassembly that costs thousands in labor.
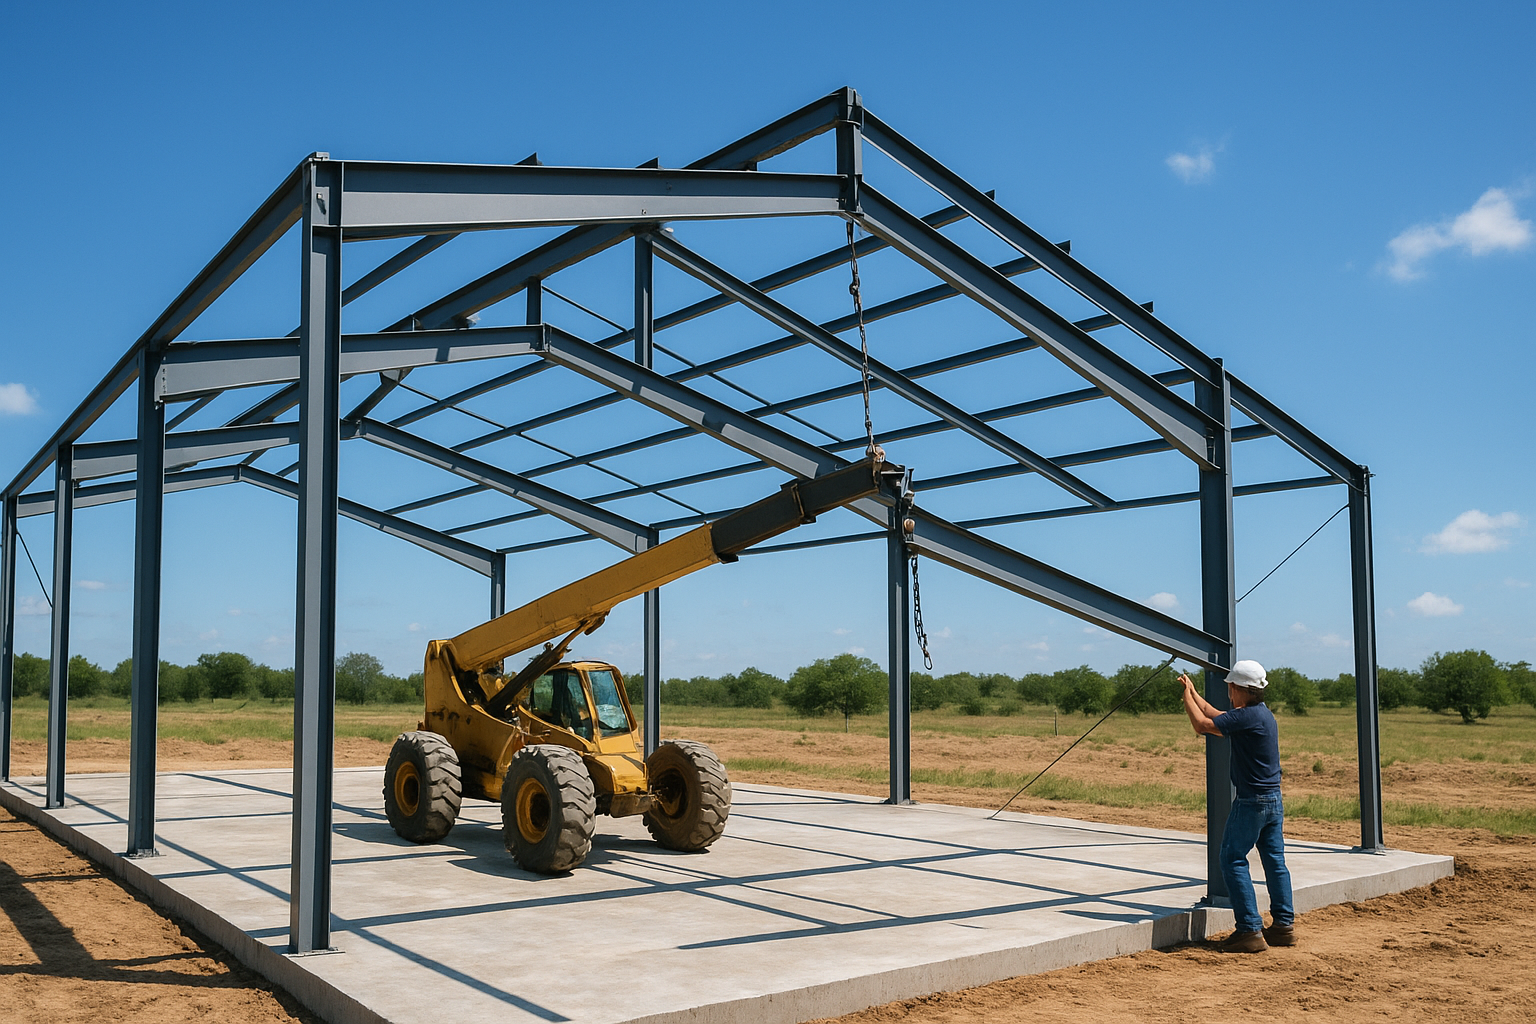
Roof panel installation follows frame completion and should proceed from bottom to top, overlapping panels in the direction that sheds water away from prevailing winds. Your crew will install ridge caps, trim pieces, and gutter systems as part of the shell package. Confirm all fasteners penetrate the frame properly and include rubber washers that seal against water intrusion.
Install exterior panels and seal penetrations
Wall panels attach to your frame columns using self-tapping screws spaced 12 to 18 inches apart along each vertical rib. Your erector should apply butyl tape sealant between panel overlaps and around all door and window openings before fastening trim pieces. Pay special attention to base trim installation where your wall panels meet the concrete slab, because gaps here let rodents and insects enter your building.
Caulk every penetration where electrical conduit, plumbing pipes, or HVAC lines pass through your exterior panels. Use high-quality silicone or polyurethane sealant rated for metal-to-metal applications rather than cheap acrylic products that fail within months. Understanding how to build a barndominium that stays dry requires obsessive attention to these weatherproofing details during shell construction, not repairs after you discover leaks during the first storm.
Step 7. MEP and interior finishes
MEP work (mechanical, electrical, and plumbing) transforms your weatherproof shell into a livable space and typically takes eight to twelve weeks depending on finish complexity. Your electrician, plumber, and HVAC contractor need to coordinate their rough-in work before insulation and drywall cover the walls, which means scheduling these trades in sequence matters more than during any other phase. Understanding how to build a barndominium that functions properly requires getting these systems installed correctly the first time, because fixing mistakes after you close up walls costs triple the original installation price.
Run electrical, plumbing, and HVAC systems
Your electrician installs the main service panel, branch circuits, and outlet boxes during rough-in, leaving wires exposed until inspection. Plan for 200-amp minimum service in a 2,000 square foot barndominium, with circuits dedicated to kitchen appliances, HVAC equipment, and shop tools if you included workspace in your design. Install outlets every 12 feet along walls in living areas and every 4 feet in kitchens to meet code requirements without running extension cords everywhere.
Plumbing rough-in includes supply lines, drain pipes, and vent stacks that penetrate your roof. Group bathrooms and your kitchen on the same wall when possible to minimize plumbing runs and reduce material costs. Your plumber will pressure-test all supply lines and conduct a smoke test on drain lines before covering the pipes with insulation.
HVAC contractors size your heating and cooling system based on actual load calculations, not just square footage. Metal buildings lose and gain heat differently than traditional homes, so proper insulation becomes critical for system efficiency. Expect two to three tons of cooling capacity per 1,000 square feet in South Texas, with ductwork designed to deliver balanced airflow to every room.
Installing spray foam insulation before running HVAC ducts reduces your system size requirements by 20% to 30% compared to fiberglass batt insulation.
Install insulation and interior walls
Spray foam insulation costs $1.50 to $3.00 per square foot but delivers R-values of 6.5 per inch and seals air leaks that waste energy in traditionally insulated buildings. Your insulation contractor sprays foam directly against your metal panels, creating a thermal barrier that prevents condensation and temperature transfer. Budget for 3 to 4 inches of closed-cell foam on walls and 5 to 6 inches on your roof deck for optimal performance.
Frame interior walls with metal studs or traditional wood framing after insulation cures, then install drywall and complete taping and finishing. Metal studs cost slightly more than wood but eliminate concerns about termites and moisture damage in South Texas humidity.
Complete flooring, cabinets, and trim
Flooring installation happens after drywall finishing protects your concrete slab from damage. Luxury vinyl plank, polished concrete, or tile work well in barndominiums because they handle temperature fluctuations better than hardwood. Install baseboards, door casings, and window trim using primed pine or MDF that you can paint to match your interior color scheme.
Cabinet installation and countertop fabrication typically add three to four weeks to your timeline because these items require custom sizing and professional measurement after walls reach final dimensions. Schedule your final plumbing and electrical trim-out after cabinets arrive so fixtures align properly with your finished surfaces.
Next steps to start your barndominium
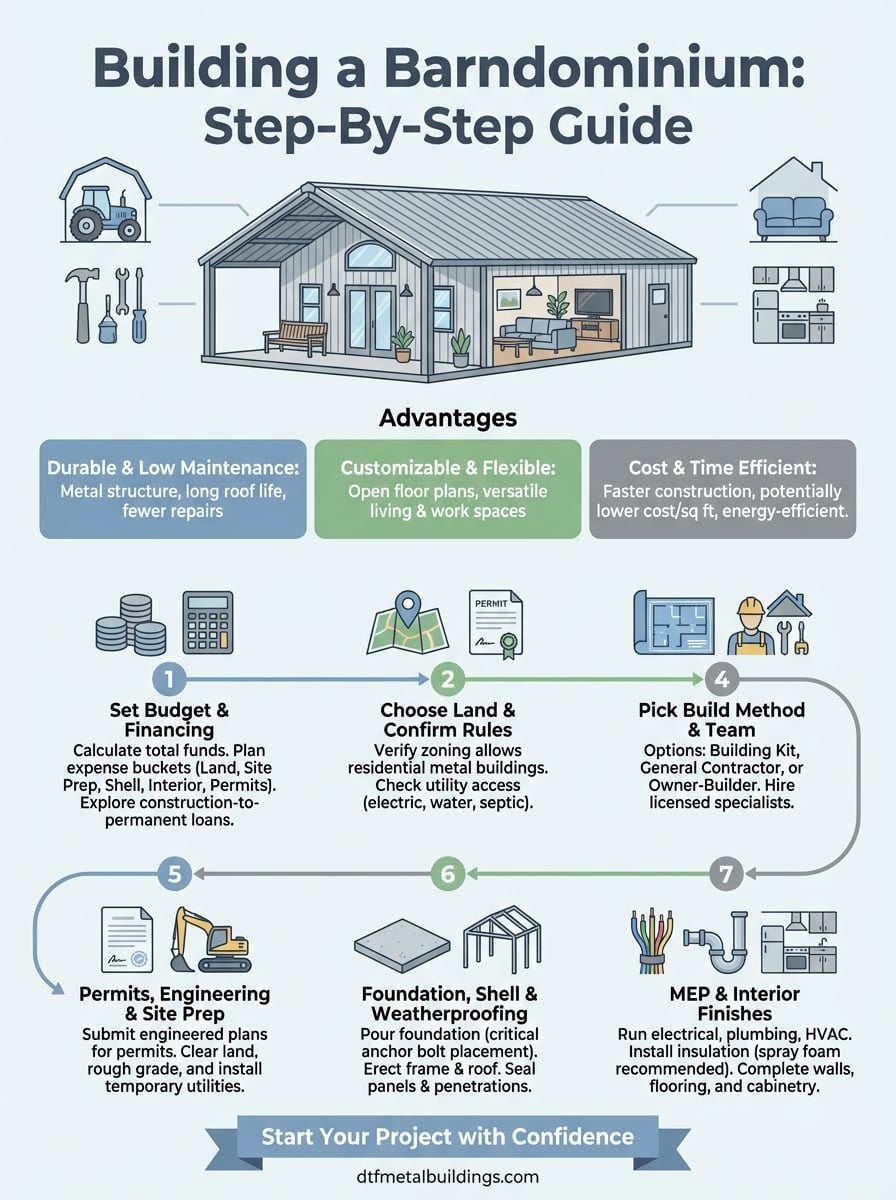
You now have a complete roadmap for how to build a barndominium from land selection through final finishes. Your next move depends on where you are in the planning process. If you haven't secured land yet, start comparing properties within your target area and verify zoning allows residential metal structures before making offers. Property owners ready to move forward should request quotes from at least three contractors who specialize in barndominium construction and compare their timelines, material specifications, and warranty terms.
Get your financing pre-approved before you commit to contractors or order building materials, because construction loans require more documentation than traditional mortgages. Review your floor plan one final time and confirm every room size matches how you'll actually use the space, not just what looks good on paper.
Contact our team to discuss your barndominium project and receive a detailed quote based on your specific requirements and property location.